This post includes links to Amazon.com to help
you buy the materials you'll need if you decide to make this awesome DIY
Geometric Triangle notebook, if you want to learn more about these
links please read my privacy policy here.
I'm back in school, which means that I'm trying to incorporate fun and funky-ness into my everyday routine while I run around campus. Everyday is consumed with school work and blog work, already... and the semester just began. Oh boy...
To deal with all the extra stress, I'm trying to let some of my creativity flow in ways that involve school and/or the blog, so I can still be productive even when I'm being eccentric. Lately that means I've been giving myself a little bit too much time to work on DIY projects that involve school supplies, which has been so rewarding but may also be considered procrastination to some.
While I'm not advising you to procrastinate, I
am advising you to have a little fun with your creative side
and your school supplies before things get too serious this semester! Whether you're a high school freshman, a college senior, a teacher with tenure, or a parent with a few extra minutes to spare, this DIY Abstract Geometric
composition notebook
project is the perfect way to express yourself and make something cool and useful in the process.
To make this project you'll need a handful of old magazines or photos, a composition notebook,
a pair of scissors
,
a paint brush,
Mod Podge,
a ruler
, & a pen if you don't feel confident in eyeballing measurements!
The first step of this awesome DIY notebook project is simple, all you need to do is find images that appeal to your eye. Find colors that are similar and patterns that flatter your eye when placed nearby each other.
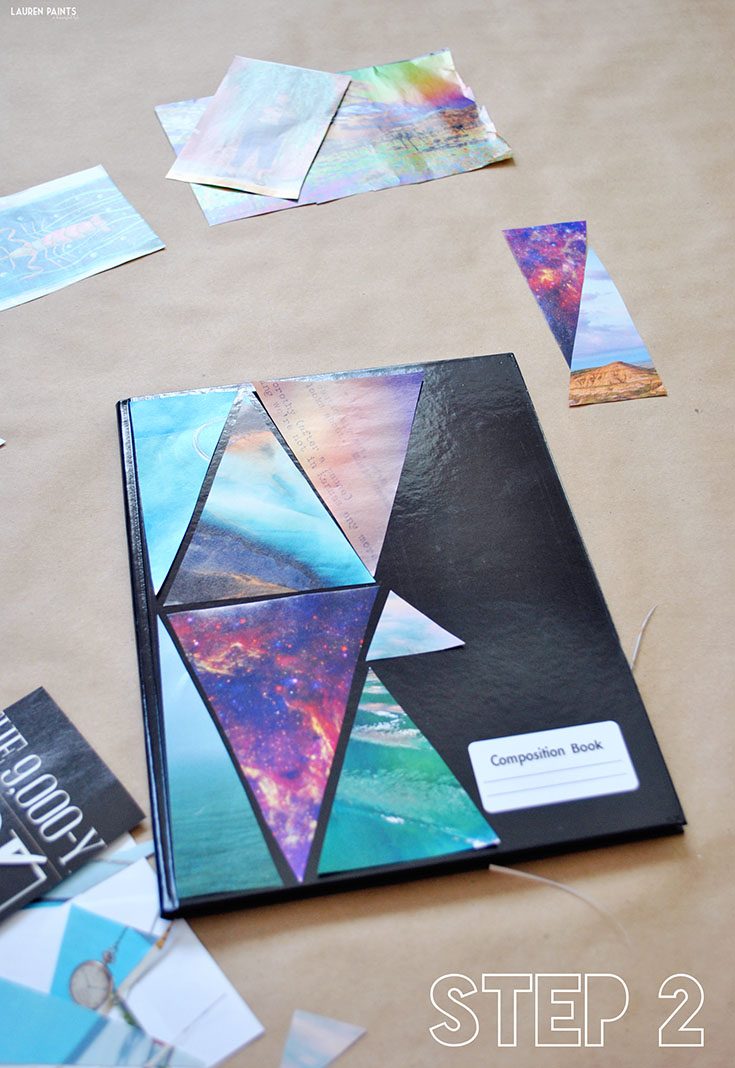
After you have several magazine pages torn out it's time to move on to the second step, you can either trace shapes onto the pages or just begin cutting and hope that your shapes are similar in size. Once you have a few shapes cut out, begin organizing them into a pretty pattern. Whether you choose to cut your shapes into long rectangles or triangles, like I did, I'm sure it'll turn out beautifully!
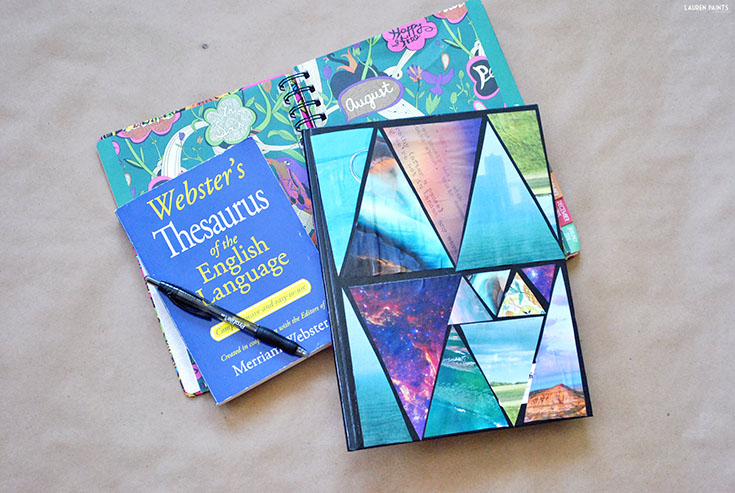
Once you've cut out all of your shapes it's easy to complete step three, place a few small dabs of mod podge on the back of the magazine image or photo and secure each image in place. Allow that glue to dry for a few minutes and then apply a thin, yet well-coated layer of mod podge over the top of the entire notebook and the images.
Let the notebook dry for 12+ hours and you and your new creation are good to go, but be prepared to mention my blog when someone asks how you made it! Now that I've shared a super fun way to personalize your composition notebook, I'd love to hear what your favorite part of the back to school season is?


No comments:
Post a Comment
Keep the conversation going... Leave a comment!