This shop has been compensated by Collective Bias, Inc. and its advertiser. All opinions are mine alone. #CraftedExperience #CollectiveBias
When I saw our quirky bathroom in our rental home was a funky green in color, I knew I could either learn to embrace the color or we could keep looking for a different place to live. The latter wasn't really an option because the house is perfect for us in so many other ways, so I decided I had to learn to love our bathroom the way it is and once I decided it was "mermaid" green in color, I knew exactly how I wanted to decorate.
Now that I've added "my touch" to our bathroom, it has to be one of my favorite rooms in the house! Since I'm a total mermaid lover, I embraced the mermaid green so much that I decided to make a mermaid gallery wall to match the wonderful green color!
While I love everything on the mermaid gallery wall, today I want to share how I made the awesome DIY sign for the bathroom.
I made a super simple sign with a famous quote from one of my favorite movies,
after looking at all my wonderful mermaid stuff I couldn't help but think to myself,
"Look at this stuff, isn't it neat? Wouldn't you think my collection's complete?" and that's when I decided what quote needed to be on the sign.
My mermaid collection
is neat, so the sign is fitting and since it's on my version of "driftwood" it adds the perfect beachy touch to the room! Want to make a mermaid sign for your home? I'm sharing a short little tutorial on how I made my sign so that you can make one for your home or the home of another mermaid-loving individual.
Items needed:
Scrap piece of wood
Paint in white and teal
White paint pen
Stencils / Cricut Explore
Paint Brushes
Hot Glue Gun
Large Serving Fork or a "Dingle Hopper"
You'll start this project by sanding your piece of wood, removing any dirt or debris. I actually used an old fence post, but you can use any ol' piece of wood. I wanted the drift wood look but if you are looking for something more polished I suggest hitting up a craft store for canvas or another wood surface!
After your wood is sanded, you'll want to paint a thin, watered down layer of white over the whole piece of wood; allowing for a "white-washed" look.
Your next step, if you have a Cricut, will be to choose a font and print off the text for this little project. I printed "Look at this stuff," in one font and "isn't it neat?" in another, just for fun! If you don't have a cricut, you can buy any alphabet stencils at Walmart or a craft store and use those instead!
I also went ahead and printed out a little mermaid with her favorite little flounder, because my craft for the mermaid bathroom wouldn't be complete without a mermaid on it... right?
Next, I taped my "stencils" to the piece of wood. I applied a thin layer of the teal paint over the top of each stencil - slowly, making sure I had paint at every angle of each letter and surrounding the mermaid.
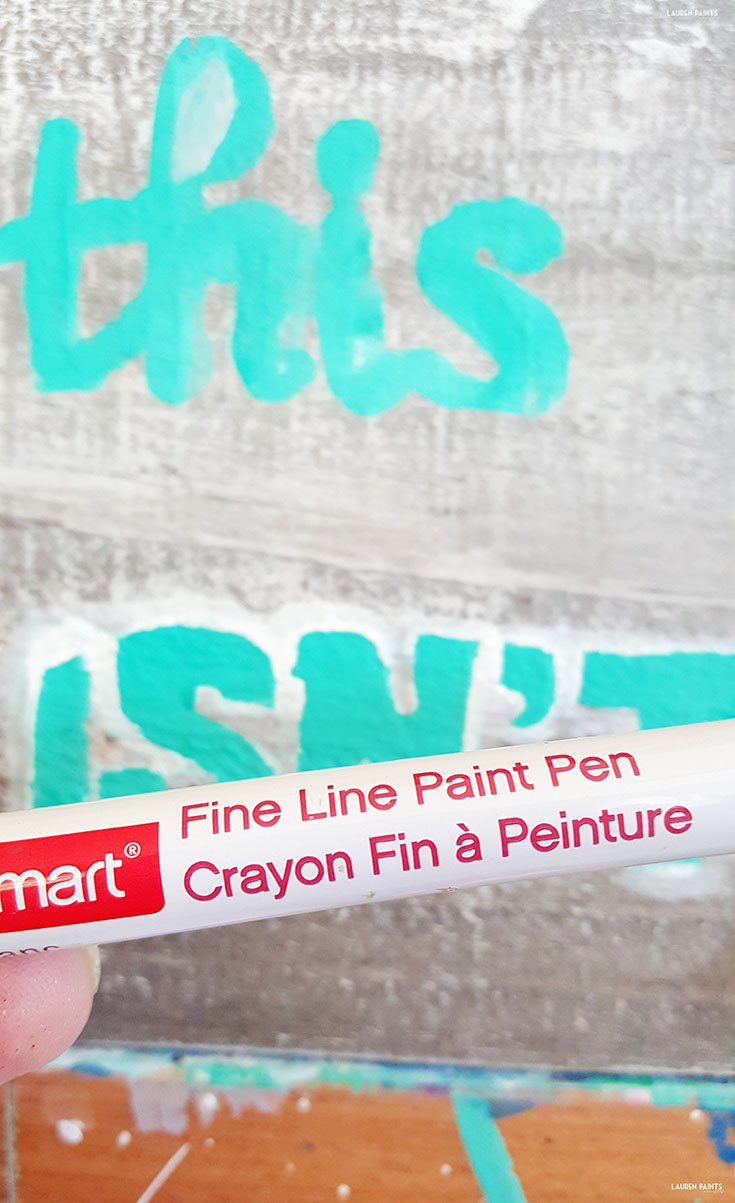
Once I was certain the letters were thoroughly painted, it was time for a little break while I let the letters dry. After they were dry to the touch, I slowly removed the stencils from the board - the quote and the mermaid transferred decently well but I decided I really wanted it to pop so I grabbed a white paint pen and traced around each letter, allowing for a subtle way to make the quote really "pop" on the wood!
After tracing the letters with a white paint pen, I heated up the glue gun and it was time to attach the "dingle hopper" (the fork) to the sign! With one thin line of hot glue, I attached the fork at an angle to the sign and it is complete!
I let the entire sign dry over night and the next morning, it was time to hang everything in it's place! With mermaids in several shapes and colors, little beachy decor, my hand-crafted mermaid sign, and more - I couldn't contain my excitement!
It took me about ten minutes to decided where I wanted to put everything and since my hubby is fantastic, he did the honors of hanging everything while I judged whether each item was centered and straight. We hung mirrors, little mermaid figurines, sea shells in frames, and more. But my favorite item, is obviously the one I shared how to make today.
My other favorite thing about my bathroom is something I usually don't talk about... I'm totally going out on a limb here but if you haven't tried
Quilted Northern Ultra Soft & Strong® Bath Tissue yet, you should! I picked up a small package to go on the shelf at Walmart and you can too!
Quilted Northern is designed to be forgotten and that's
exactly the way a toilet paper should be, am I right? Meticulously crafted, Quilted Northern is a reliable brand that has been around for 100 years and offers maximum comfort and durability, what more could a gal ask for when she's doing her business?
With mermaids, DIY projects and
Quilted Northern Ultra Soft & Strong with CleanStretch, you can't go wrong! Now that I've shared a fun way to add some mermaid awesomeness in your life, I'd love to hear all about your favorite DIY project you've created in the comments below!


No comments:
Post a Comment
Keep the conversation going... Leave a comment!