This shop has been compensated by Collective Bias, Inc. and its advertiser. All opinions are mine alone. #PutALabelOnIt #CollectiveBias

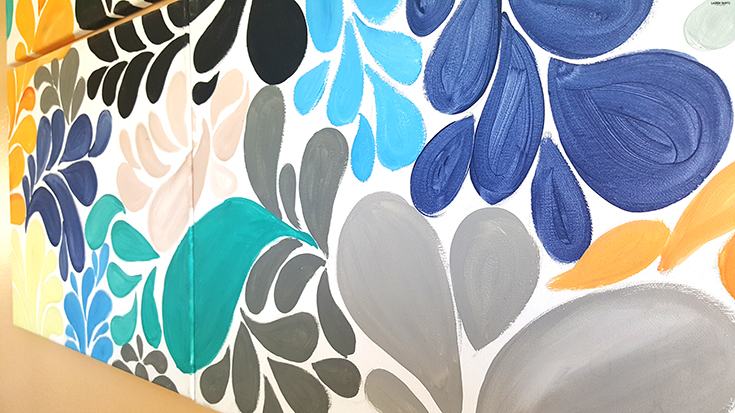
My blog name kind of gives this away, but sometimes I paint... what you may not know, is that I actually started this whole blog thing as part of my "social media plan for my art business". I did a ton of research on what some of my favorite artists were doing to increase their sales and one of the most mentioned ways to start selling your art was to start a blog where you shared your art work.
While I occasionally still share my art here on the blog, I'm so proud that this space has turned into SO much more than a place to discuss my art work and I'm so thankful for that as well, I'm also super thankful that my art has been selling so I'm lucky enough to be making a little bit of money from that as well!
With pieces of mine having been accepted into art galleries and people buying my art on etsy and at craft fairs, I'm realizing that I technically have
two businesses - my blog and my art! I'm so blessed to make a living doing what I love, but I want to appear as professional as possible while working from my little office space.
That's why I've decided to upgrade my painting business. I decided to invest in a
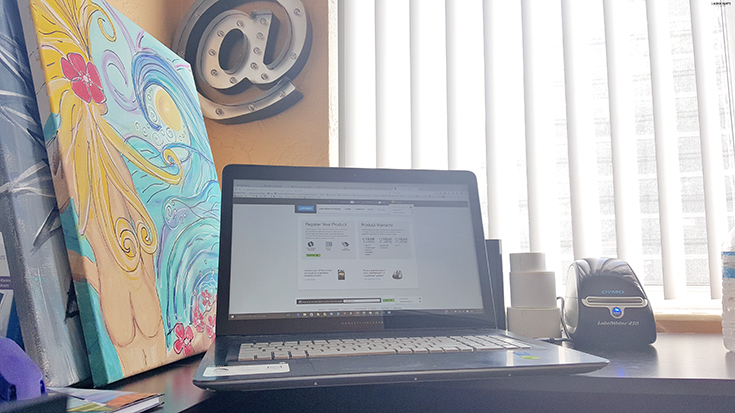
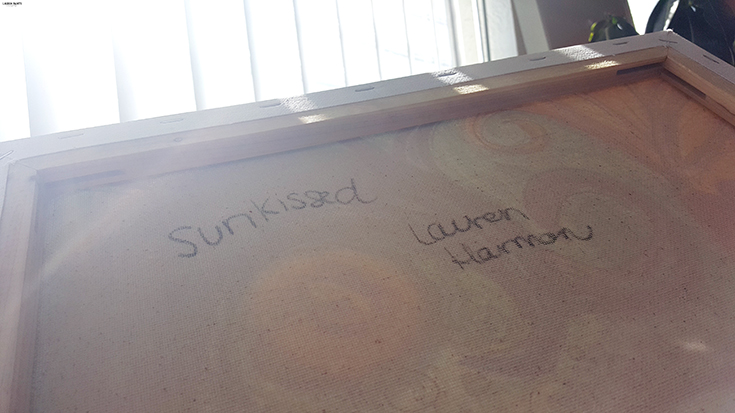
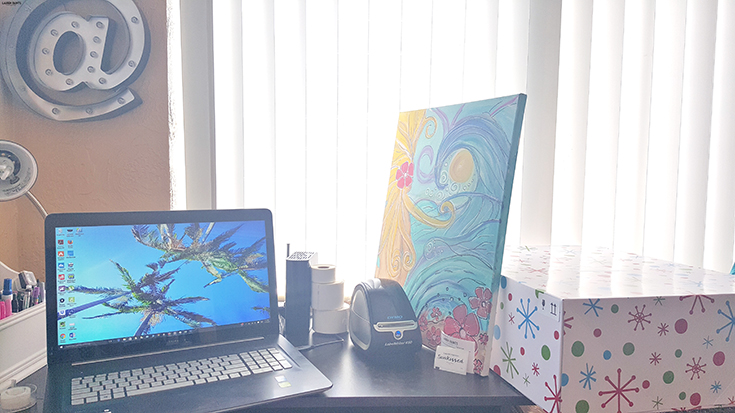
DYMO LabelWriter® 450 Value Bundle Pack! Why do I need a label writer? Because writing the name of the painting in permanent marker on the back of the canvas just isn't cutting it any more.
This new little toy has helped me organize my art and blogging supplies, professionally titled, priced, and addressed all of my outgoing pieces of art, and even helped me to address labels on invites I sent out recently!
It's awesome that this tiny little printer requires no ink at all! With the ability to print via thermal transfer, you'll never have to buy an ink cartridge for this little guy and he'll always print beautiful labels!
Another reason to fall in love with the
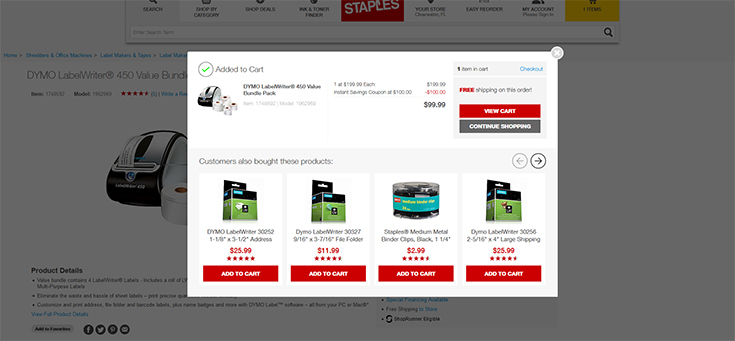
DYMO LabelWriter 450 Value Bundle Pack is the fact that it comes with 4 label rolls, while still remaining competitively priced! I love having all of the options between the LW Appointment Card Labels, LW Shipping Labels, LW File Folder Labels and LW Multi-Purpose Labels - it's like my own little retail space with all of the options DYMO offers!
But honestly, the MAIN reason I shared the DYMO LabelWriter with you today is the fact that you can completely customize the labels! I loved that the software, that's included in the bundle, offers the ability to pull ANYTHING from your computer screen super simply and you can include that ON your label, or if you have a logo (like my painting/blog logo) you can simply upload a picture! Regardless of where the photo comes from - once you start printing, you realize that you can pretty much turn anything into a black and white label.
That's just what I did! I made my business logo for Lauren Paints into a return address on my packing labels, it is such a simple (and cute) way to show off my new professional packaging for my paintings!
Speaking of packaging my paintings, here's how I box up and send my art work all the way across the country without fail.
I use my DYMO LabelWriter to create address labels, as well as two title labels for each piece of art work (one to put on the back of the canvas
and one to use on the outside of the packing paper), and lastly a fragile and "this side up" label as well. Once all of my labels are printed, I add in a shock absorbent packing material like shredded paper. I place the title sticker on the back of the art work and it's time to begin prepping the painting.
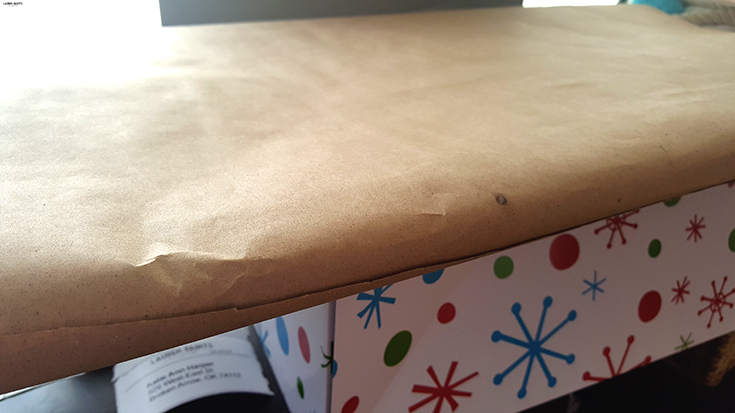
I wrap my artwork in a brown packing paper and envelop the packaging,
making sure the paper is sealed with a tiny bit of tape. Then, I place
the title label on the outside of the package.
Now it's time to place the painting gently inside the box and packing material. Placing the lid on the top of the box or closing the boxes flaps and taping thoroughly around the edges of the box.
Place the address label in the center of the box and the fragile/this side up label on the edge of the box.
Now it's time to print off the shipping label from a carrier or buy postage labels, using the DYMO to print those off and then it's time to send the painting on it's merry way!
Do you have an art business as well? Are you wanting to elevate your small business to the next level? I guarantee a simple to use, label writer is the perfect piece of technology to add to your office space! Eliminate the hassle of sheet labels on a regular desktop printer or embarrassing marker labels like my former labeling system for my art work...
If your business is larger or more established, I suggest you upgrade beyond the DYMO LabelWriter 450 Bundle and go with the
LabelWriter 450 Turbo. The best way to get a feel for which label writer you want is to visit
your local Staples store though! Be sure to check & see if these awesome DYMO printers nearby you with
the product locator on their
website found here!
Why would you want to upgrade to the LabelWriter 450 Turbo when the Labelwriter 450 does so much? Well, the Turbo is the way to go for a larger business, because it prints out up to 71 labels per minute, allowing you to focus on what really matters! The LabelWriter 450 Turbo takes the awesomeness that is the LabelWriter450 to another level! Plus you can print USPS-approved DYMO stamps postage directly from your laptop with the Turbo!
No matter which LabelWriter you decide to go with, be sure to go check back every week for
Staples Daily Deals, so you have the chance to score a special deal on your favorite DYMO LabelWriter® products including DYMO LabelWriter® 450 Bundle, LabelWriter® 450 Turbo, and LabelWriter® 4XL Turbo!
Now that I've shared how I elevated my little art business to the next level, I'd love to hear any tips and/or tricks you have up your sleeve regarding small business operation?! Let me know all your money-making secrets in the comments below or tell me all about what you would put a label on!










No comments:
Post a Comment
Keep the conversation going... Leave a comment!