This post is sponsored by Make-A-Wish Foundation but the content and opinions expressed here are my own.
Then, when you combine that Disney Magic, that pure creative joy, with the Make-A-Wish foundation... well - that's pretty much the most heart warming combination, most of us can agree on that!
With that said, Disney & Make-A-Wish have partnered up and we all want you to help save the day for kids with Disney wishes, yet again!
How can you do that?
It doesn't take much -
Just "Share Your Ears"!
THAT'S IT!
From now through November 17th, 2018, Walt Disney Parks will donate US $5 for each social share on Facebook, Instagram, or Twitter using the hashtag "#ShareYourEars", up to US $2 million in donations - all of this in celebration of 90 years of Mickey Mouse & Thanks to Disney Team of Heroes!
That means, all you have to do to help those brave Make-A-Wish kids is share a photo rocking your favorite ears! Don't have a pair? I've got you covered! This DIY Mickey Mouse Ears project is so easy - it's a great way to spend time with your kiddo while encouraging them to use their "disney" magic level of creativity and imagination!
For this project you will need:
1 sheet of cardstock
a plain headband
white crayon
a watercolor paint palette & the works [brushes, water, etc]
pair of scissors
hot glue & a hot glue gun
First, you'll want to print off this template I've created. Be sure to hit the "fit to page" when printing!
Next, let your kiddo scribble willy-nilly all over the cardstock with the white crayon. While you won't be able to see the markings now, they look so nifty once water color is applied.
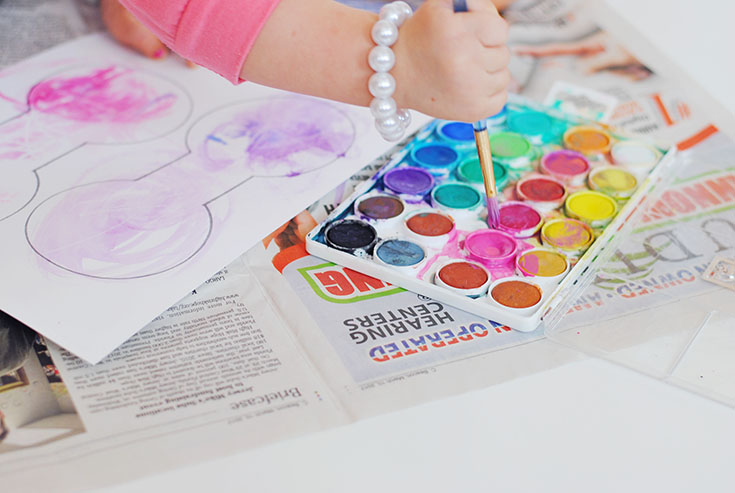
Which brings us to our next step, painting with watercolors. This part is easily Delainey's favorite. She loves showing off her epic painting skills... and honestly, I don't blame her - she is pretty talented!

Once cut, glue the two circle parts of each ear together, allowing the length of the ears to remain attached, then slide the headband through the opening. Position the ears where you would prefer on the headband and then flatten the bottom so the opening on the ear is attached to the headband - apply a liberal amount of hot glue and let dry.
Now add your favorite bow like this one, or rock with another fun accessory, if you so desire and get ready to show off in your ears!


No comments:
Post a Comment
Keep the conversation going... Leave a comment!